
Operating an existing, labeled bypass is a homeowner task. Installing or retrofitting one is different. If pipes must be cut, soldered, rerouted, or adapted, a trained plumber should do it.
Mistakes show up as leaks, restricted flow, untreated water reaching fixtures, softener damage, or rework. This guide covers preparation, installation, testing, and troubleshooting.
Key Takeaways
- A bypass is either built into the softener's control head or installed as a separate three-valve assembly.
- Confirm flow direction, pipe size, and the manufacturer's diagram before buying parts.
- Valve positions for service and bypass vary by model, so follow your manual.
- Depressurize, connect carefully, then test leaks, flow, and both water paths.
Installation Guide for Installing Your Water Softener Bypass Valve
Installation Guide for Your Water Softener Bypass Valve
Installation falls into four stages:
- Identify the existing plumbing.
- Prepare and isolate the water supply.
- Install or connect the bypass.
- Validate both water paths.
Difficulty depends on your starting point. A softener with a compatible integrated valve is far simpler than one that needs plumbing modifications. Whirlpool's owner's manual allows either its supplied integrated bypass or a separately built three-valve loop.
Prerequisites and Safety Considerations
Before you start, confirm the following:
- Locate the incoming line, softener inlet, softened-water outlet, household plumbing, and existing shutoffs.
- Check your model's control-head connections against its diagram. Bypass valves, handle directions, and fittings are not interchangeable across brands.
- Match the valve and fittings to pipe diameter, connection type, pressure rating, and potable-water use.
- Confirm a reliable main or branch shutoff.
- Check local permit and inspection rules. In Ventura, California, for example, softener install or replacement needs a permit, and pipe size must match the manufacturer's specs.
Stop and call a professional if piping is concealed, badly corroded, leaking, or misidentified. The same goes for complex commercial or multi-unit systems.
Watch supply pressure as well. Morton's manual lists a 20-125 psi range for its covered models and warns that daytime pressure above 80 psi may mean nighttime pressure exceeds the limit. You may need a pressure-reducing valve.
Tools and Parts Required
Essentials:
- Compatible integrated bypass or three-valve kit
- Correctly sized pipe and fittings approved for potable water
- Pipe cutter or tubing tools suited to your pipe material
- Adjustable wrenches and a deburring tool
- Bucket and towels
- Pipe supports or hangers
Optional:
- Flashlight
- Camera for before-and-after photos
- Extra O-rings and clips
Whirlpool and Morton list copper, threaded pipe, PEX, CPVC, or other potable-approved pipe. Use PTFE tape only on threaded joints, and on plastic threads use only sealants compatible with PVC/CPVC, since other compounds can cause stress cracking.
Soldering needs special care. Both manufacturers warn against soldering with plumbing attached to the plastic bypass valve or adapters, because heat damages them. Solder first, then connect.
How to Install the Water Softener Bypass Valve Step-by-Step
Shortcuts cause delayed leaks and poor performance. The usual culprits are reversed inlet and outlet connections, missing supports, and forced fittings.
- Pick the installation point. The bypass sits at the softener connection so water can pass through the softener or around it. That means an integrated valve at the control head, or a separate line joining the inlet and outlet paths.
- Isolate and depressurize. Shut off the supply, put the softener in standby, and open a nearby cold-water fixture to release pressure. Lay down towels and a bucket. Follow your unit's manual for the exact sequence.
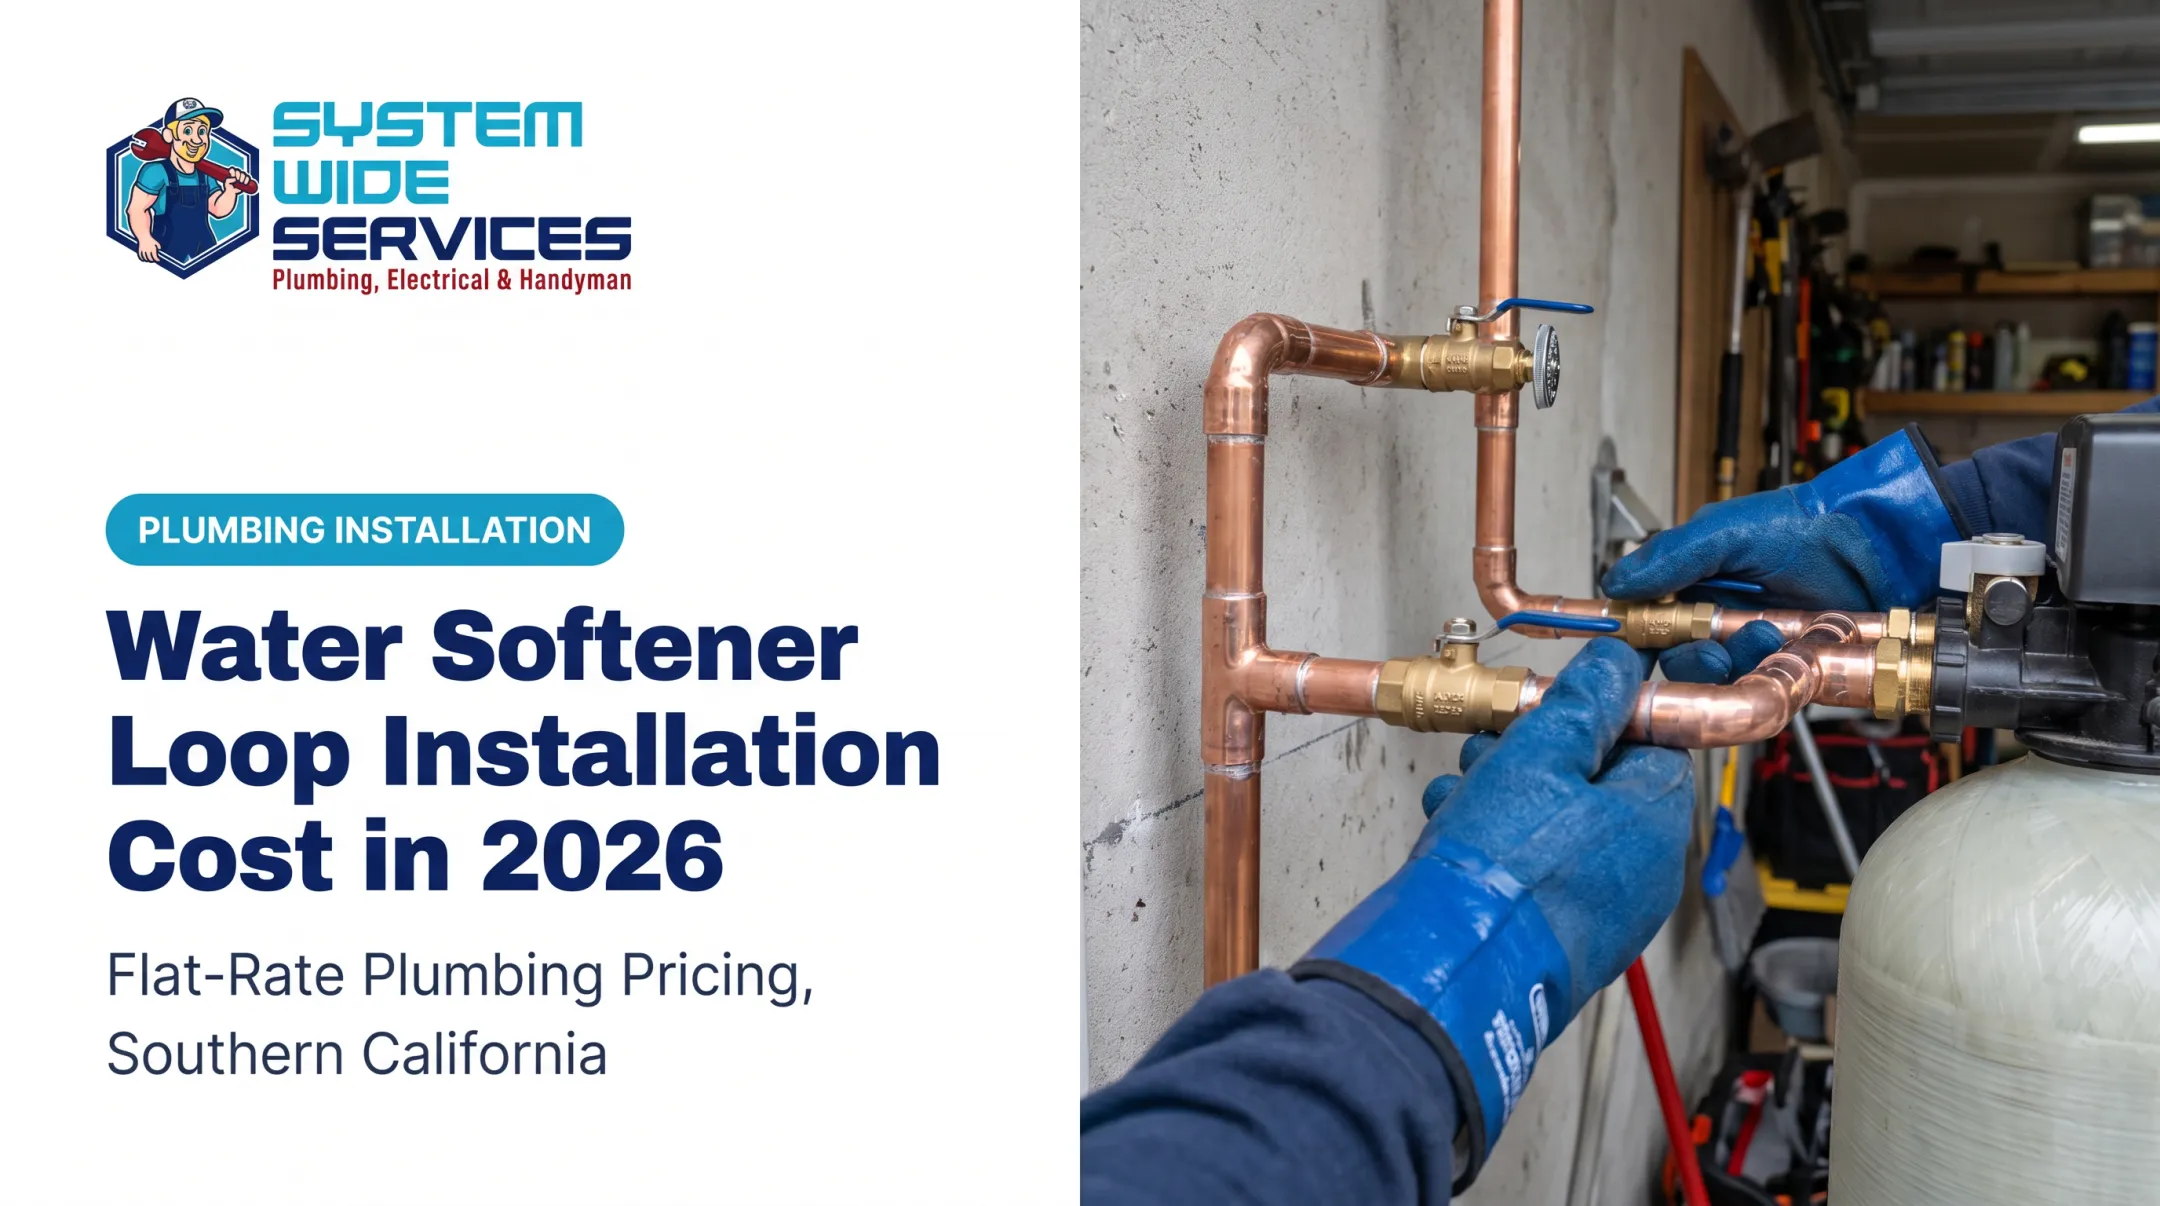
- Connect the three-valve assembly. The inlet valve goes on the incoming side, the outlet valve on the softened-water side, and the center valve between the two lines. Clack's service manual says handles point in the flow direction shown by engraved arrows. Follow arrows and the diagram, not handle orientation alone.
- Seat and support every joint. Make connections square and fully seated. Support the piping independently so no twisting or bending stress reaches the control head or valve body.
- Set the starting position. Leave the valves where the manufacturer recommends, then prepare to open the supply slowly.

Post-Installation Checks and Validation
Restore pressure gradually and watch every joint, valve body, and adapter. Look for drips, sweating, movement, unusual noise, or sudden pressure loss.
Then test each path:
- Service path: inlet and outlet open, bypass closed, unless your manual says otherwise. Confirm water reaches the house and the softener isn't being bypassed by accident.
- Bypass path: follow the manual's sequence. Household water should keep flowing while the softener is isolated.
Positions differ by brand. On Morton's integrated valve, handle OUT means service and IN means bypass. Culligan describes a three-valve bypass as inlet and outlet closed with the center valve open.
Finish by running water to purge air, flushing or sanitizing as directed, and photographing the final valve positions. Recheck for leaks after the system has held pressure for a while.

Skipping validation can leave a valve partly open, send untreated water through the house, or hide a slow leak.
Common Installation Problems and Fixes
Leaks at Threaded, Compression, or Push-Fit Connections
- Problem: Drips at an adapter, valve connection, or new joint once pressure returns.
- Likely causes: Wrong fitting size, incompatible sealant, an unseated connection, or pipe movement from poor support.
- Fix: Shut off and depressurize, find the exact joint, and remake it with compatible parts. Replace damaged fittings instead of overtightening them (Oatey warns against overtightening threaded connections). For bypass leaks, Morton recommends checking clips and replacing leaking installation adapters.
Reversed Inlet and Outlet
- Problem: The softener misbehaves, water stays untreated in service mode, or the bypass doesn't isolate the unit.
- Likely causes: Incoming and outgoing lines were swapped, arrows ignored, or the loop was connected to the wrong sides.
- Fix: Compare the piping to the diagram and trace the real water path from the main to the house. Relabel the lines. If pipes must be cut or rerouted, bring in a plumber.
Restricted Flow or No Water
- Problem: Weak flow, water stops when the bypass changes, or odd noises.
- Likely causes: A valve not fully open, two valves closed at once, debris in the line, kinked tubing, an obstructing fitting, or a partially closed bypass or service valve (per Culligan).
- Fix: Return to a known safe position, check each valve against the manual, and inspect accessible piping. Stop if pressure stays abnormal or the cause isn't clear.

Pro Tips for Installing a Water Softener Bypass Valve Effectively
- Photograph the original plumbing before disassembly and label inlet, outlet, service, and bypass positions.
- Leave enough clearance to reach every valve without moving the softener.
- Test service and bypass separately, then write down the correct valve positions for the household.
- Schedule a follow-up check if any joint keeps showing moisture.
When to hire a pro: Call a licensed plumber if the job involves any of the following:
- Cutting a main supply line
- Soldering or repiping
- An inaccessible shutoff or concealed piping
- A commercial or multi-unit system
- Doubt about local code or permit rules
In California, permit-required work also falls outside the CSLB handyperson exemption, which caps unlicensed work at $1,000 and excludes jobs that need a building permit.
System Wide Services installs water softeners across Los Angeles and Orange County under California contractor license #1108115 (C10 and C36). The work is code-compliant, and flat-rate pricing is quoted before work begins. Call (562) 269-4747 to schedule.
Conclusion
A properly installed bypass protects your household water supply during softener maintenance and lets you isolate the treatment system safely.
Match the valve to your softener and plumbing, follow the manufacturer's diagram, and test both flow paths. When the job outgrows your tools, experience, or confidence, hire a licensed plumber.
Frequently Asked Questions
Where should a bypass valve be installed?
At the softener connection. It is either an integrated valve behind the control head or a three-valve arrangement linking the inlet and outlet lines around the softener. Follow your model's diagram.
Which way should the bypass valve be on a water softener?
Normal operation is usually "Service," and "Bypass" routes water around the softener. Three-valve layouts vary, so labels and your manual take priority over assumed handle direction.
Do water softeners need a bypass valve?
One is strongly recommended. It lets you isolate the softener for maintenance or leaks without shutting off water to the whole home. The exact setup depends on your model and plumbing.
How do I install a three-valve bypass assembly?
Put the inlet valve before the softener, the outlet valve after it, and the bypass valve between those lines. Depressurize first, use correct fittings, check flow direction, and leak-test. Get professional help if repiping is needed.
When should I call a plumber to install a water softener bypass valve?
Call one if there's no accessible shutoff, piping is concealed or corroded, the main line must be modified, soldering is needed, or there's an active leak. Also call if you're unsure about local code or valve configuration.