
A licensed plumbing or HVAC professional should handle gas connections, venting, pressure testing, and combustion setup. The U.S. Department of Energy recommends a qualified contractor for gas combustion units. Electrical connections may need a licensed electrician.
Mistakes cause leaks, weak hot-water performance, carbon monoxide exposure, fire hazards, failed inspections, and voided warranties. This guide covers preparation, installation, testing, common problems, and hiring.
Key Takeaways
- Size the unit for simultaneous demand and temperature rise, not GPM alone.
- Replacing a tank may require a bigger gas line, new venting, power, and condensate drainage.
- The manufacturer's manual and local code override any generic diagram.
- Don't put the unit into service until every water, gas, vent, and electrical check passes.
- Get an itemized quote that separates equipment, labor, and upgrades.
Gas Tankless Water Heater Installation Guide
Homeowners often underestimate a gas tankless install because the unit looks simple on the wall. In practice, gas capacity, venting, electrical supply, and local code all have to line up before the heater can run safely.
A typical project follows six stages:
- Site assessment and preparation
- Old-unit removal or isolation
- Mounting
- Plumbing, gas, electrical, and vent integration
- Startup and commissioning
- Inspection and documentation
Time and complexity vary by job. Indoor or outdoor placement, condensing or non-condensing design, and replacement versus new installation each change the plan. The condition of the existing gas line, vent route, power, and plumbing matters just as much.
Prerequisites and Safety Considerations
What to Confirm Before Work Begins
- Unit data: Record model, fuel type, input rating, indoor or outdoor rating, approved vent system, clearances, water-pressure limits, electrical needs, and condensate requirements from the rating plate and current manual.
- Sizing: Size for peak simultaneous flow plus temperature rise per the DOE and NREL guide. Example: 65°F inlet, 105°F target (40°F rise) at 2.0 GPM. Flow alone does not confirm the unit can deliver that rise.
- Mounting site: Check wall strength, service access, distance to water and gas, drain routing, weather exposure, freeze risk, and the intake and exhaust path.
- Gas supply: Meter, piping, regulator, shutoff, and other appliances must support the new load. A tankless burner often needs a 3/4-inch branch instead of 1/2-inch; a qualified professional must determine line size and pressure.
- Electricity: Gas units still need power for controls and ignition. One Rinnai series, for example, specifies 120 VAC at up to 4 A.
- Permits: Requirements vary by jurisdiction; most cities require a plumbing permit for water heater replacement. In Southern California, also check South Coast AQMD Rule 1146.2 for applicability.
Stop Conditions
Do not proceed if:
- The fuel type is mismatched
- The location violates clearances
- The vent route is unapproved
- The gas supply can't be verified
- Combustible materials create a hazard
- Required permits or licensed trades aren't available
Tools and Parts Required
Required parts depend on the exact model and design. Some items ship with the unit; others must be obtained separately.
- Approved vent kit, intake parts where required, wall thimble or termination
- Mounting hardware and approved gas connectors
- Gas shutoff and a sediment trap where the manual or code requires one
- Water isolation valves and a pressure-relief valve (one Rinnai manual specifies 150 psi, sized to the unit's input)
- Condensate drain and, for condensing models, a neutralizer
- Electrical disconnect or outlet
- Pipe insulation
Pipe cutters, fastening tools, and basic measuring gear are standard. Gas-pressure gauges, combustion analyzers, and electrical testers belong in a qualified technician's hands.
Vent pipe, sealants, and fittings must be approved for the specific unit. Don't substitute tank-heater venting. Rinnai's manual prohibits reusing an existing vent or chimney and bans materials such as ABS and cellular-core plastics for its covered installations.
How to Install a Gas Tankless Water Heater Step-by-Step
Shortcuts cause delayed failures: reusing an old vent, skipping gas-pressure testing, mounting without service clearance, or energizing before purging and inspecting.
- Prepare the work area. Get approvals, then shut off and verify water, gas, and power. Protect finishes, drain and disconnect the old heater, and arrange compliant disposal.
- Mount the unit. Follow the manual's clearances, support, weather, freeze-protection, service-access, and vent-termination rules. One Rinnai indoor model lists 24 inches of front service access. Never put an indoor-rated unit outside, or the reverse (RU199i versus RU199e, for example).
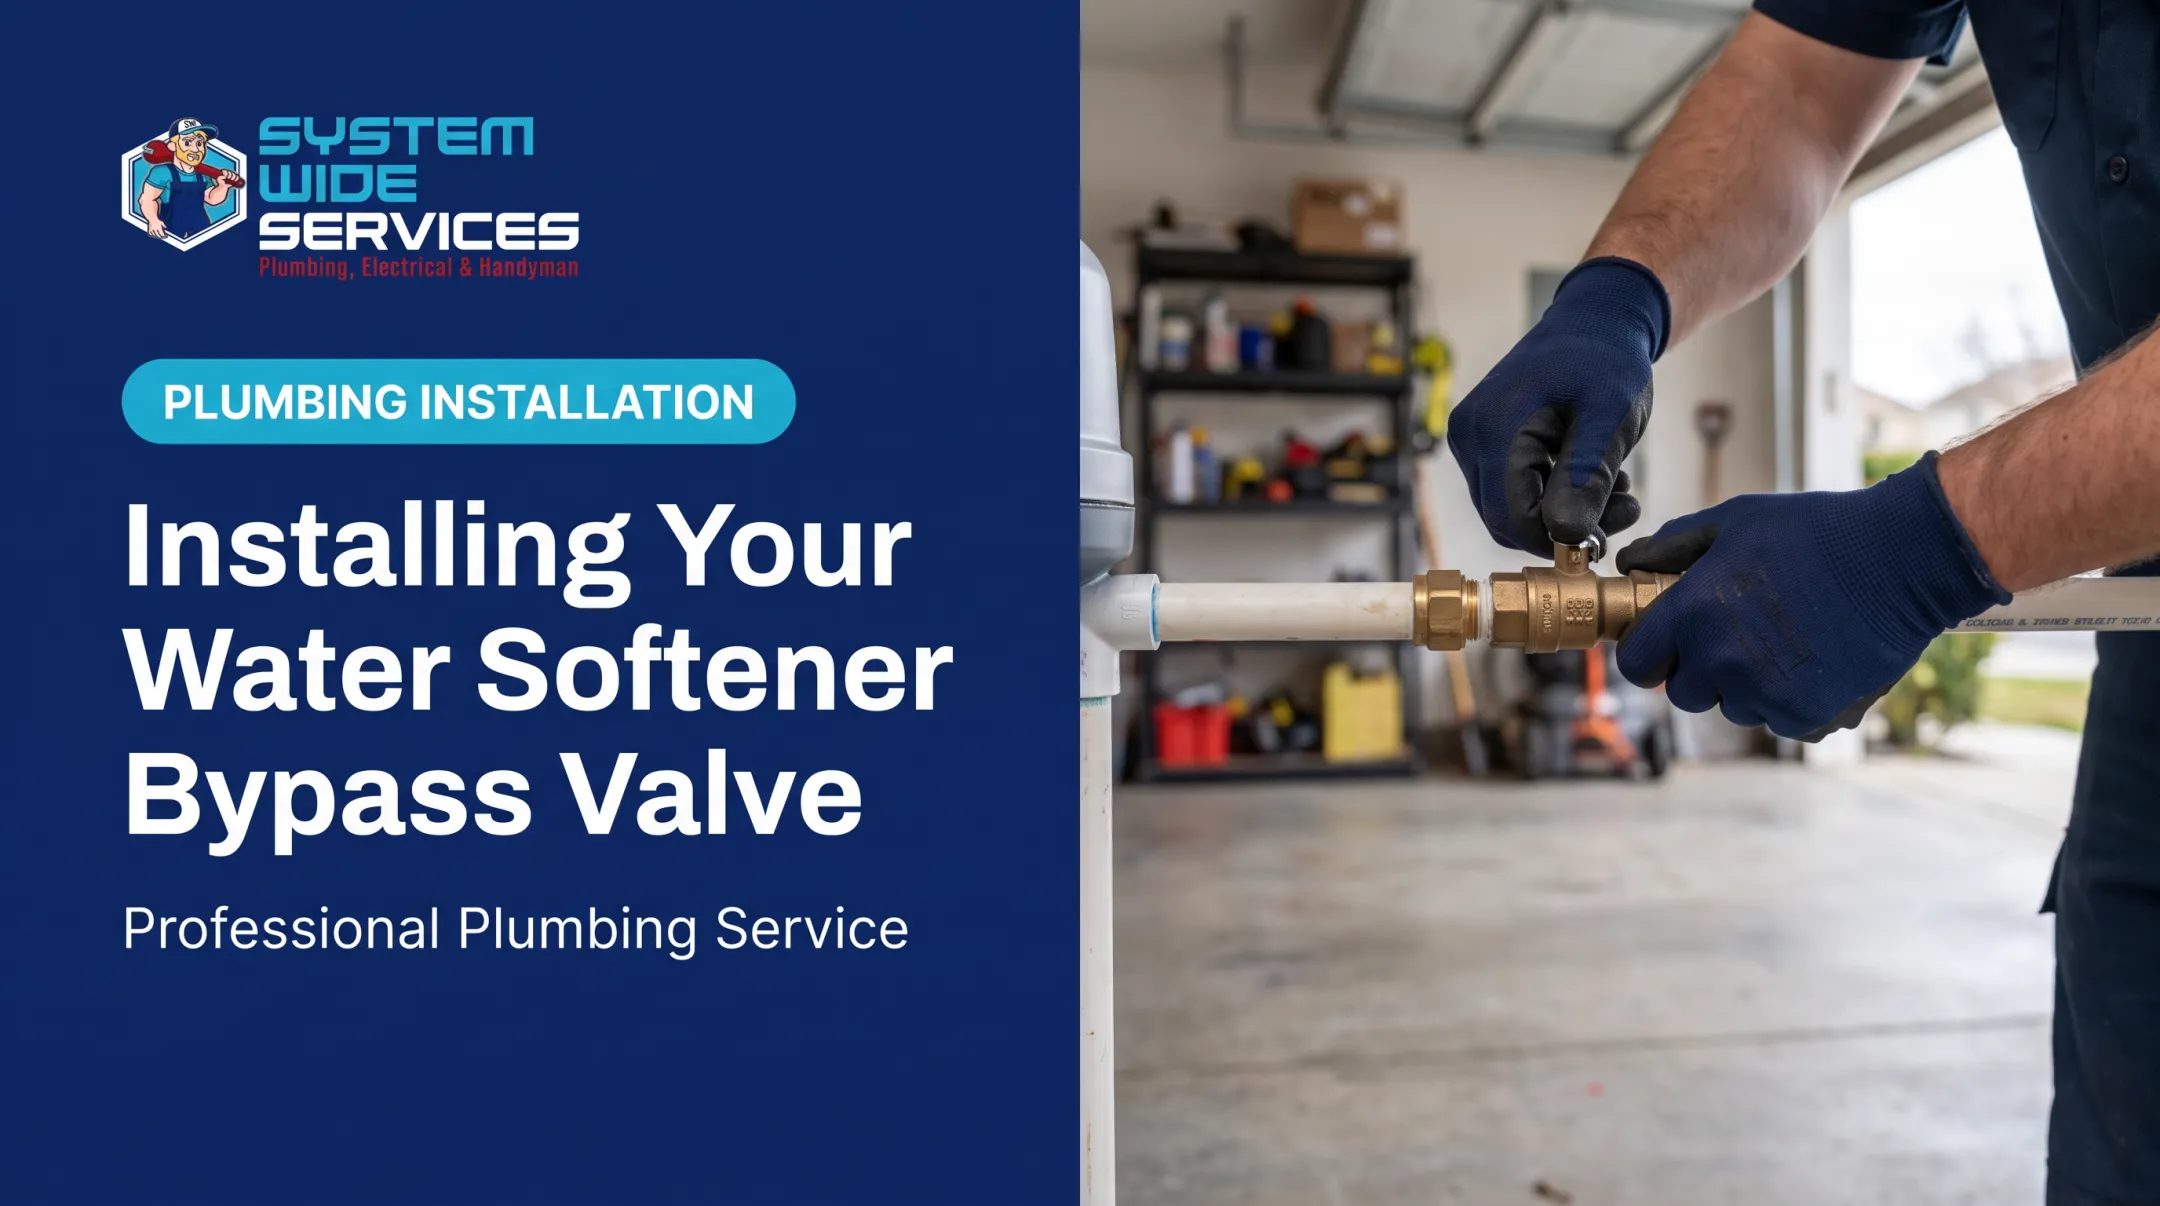
- Connect water. Label cold inlet and hot outlet, then install isolation and service valves. Flush debris, address pressure or expansion needs, route relief discharge correctly, and check joints for leaks.
- Connect gas. Confirm natural gas or propane compatibility. Install the approved shutoff and any required sediment trap, then verify line capacity and pressure (that Rinnai series specifies 3.5-10.5 inches water column for natural gas). Complete professional pressure and leak testing.
- Install venting and combustion air. Use only approved materials and hold length and termination limits. Seal penetrations, prevent exhaust from re-entering the intake or building, and route acidic condensate per the manual and local code.
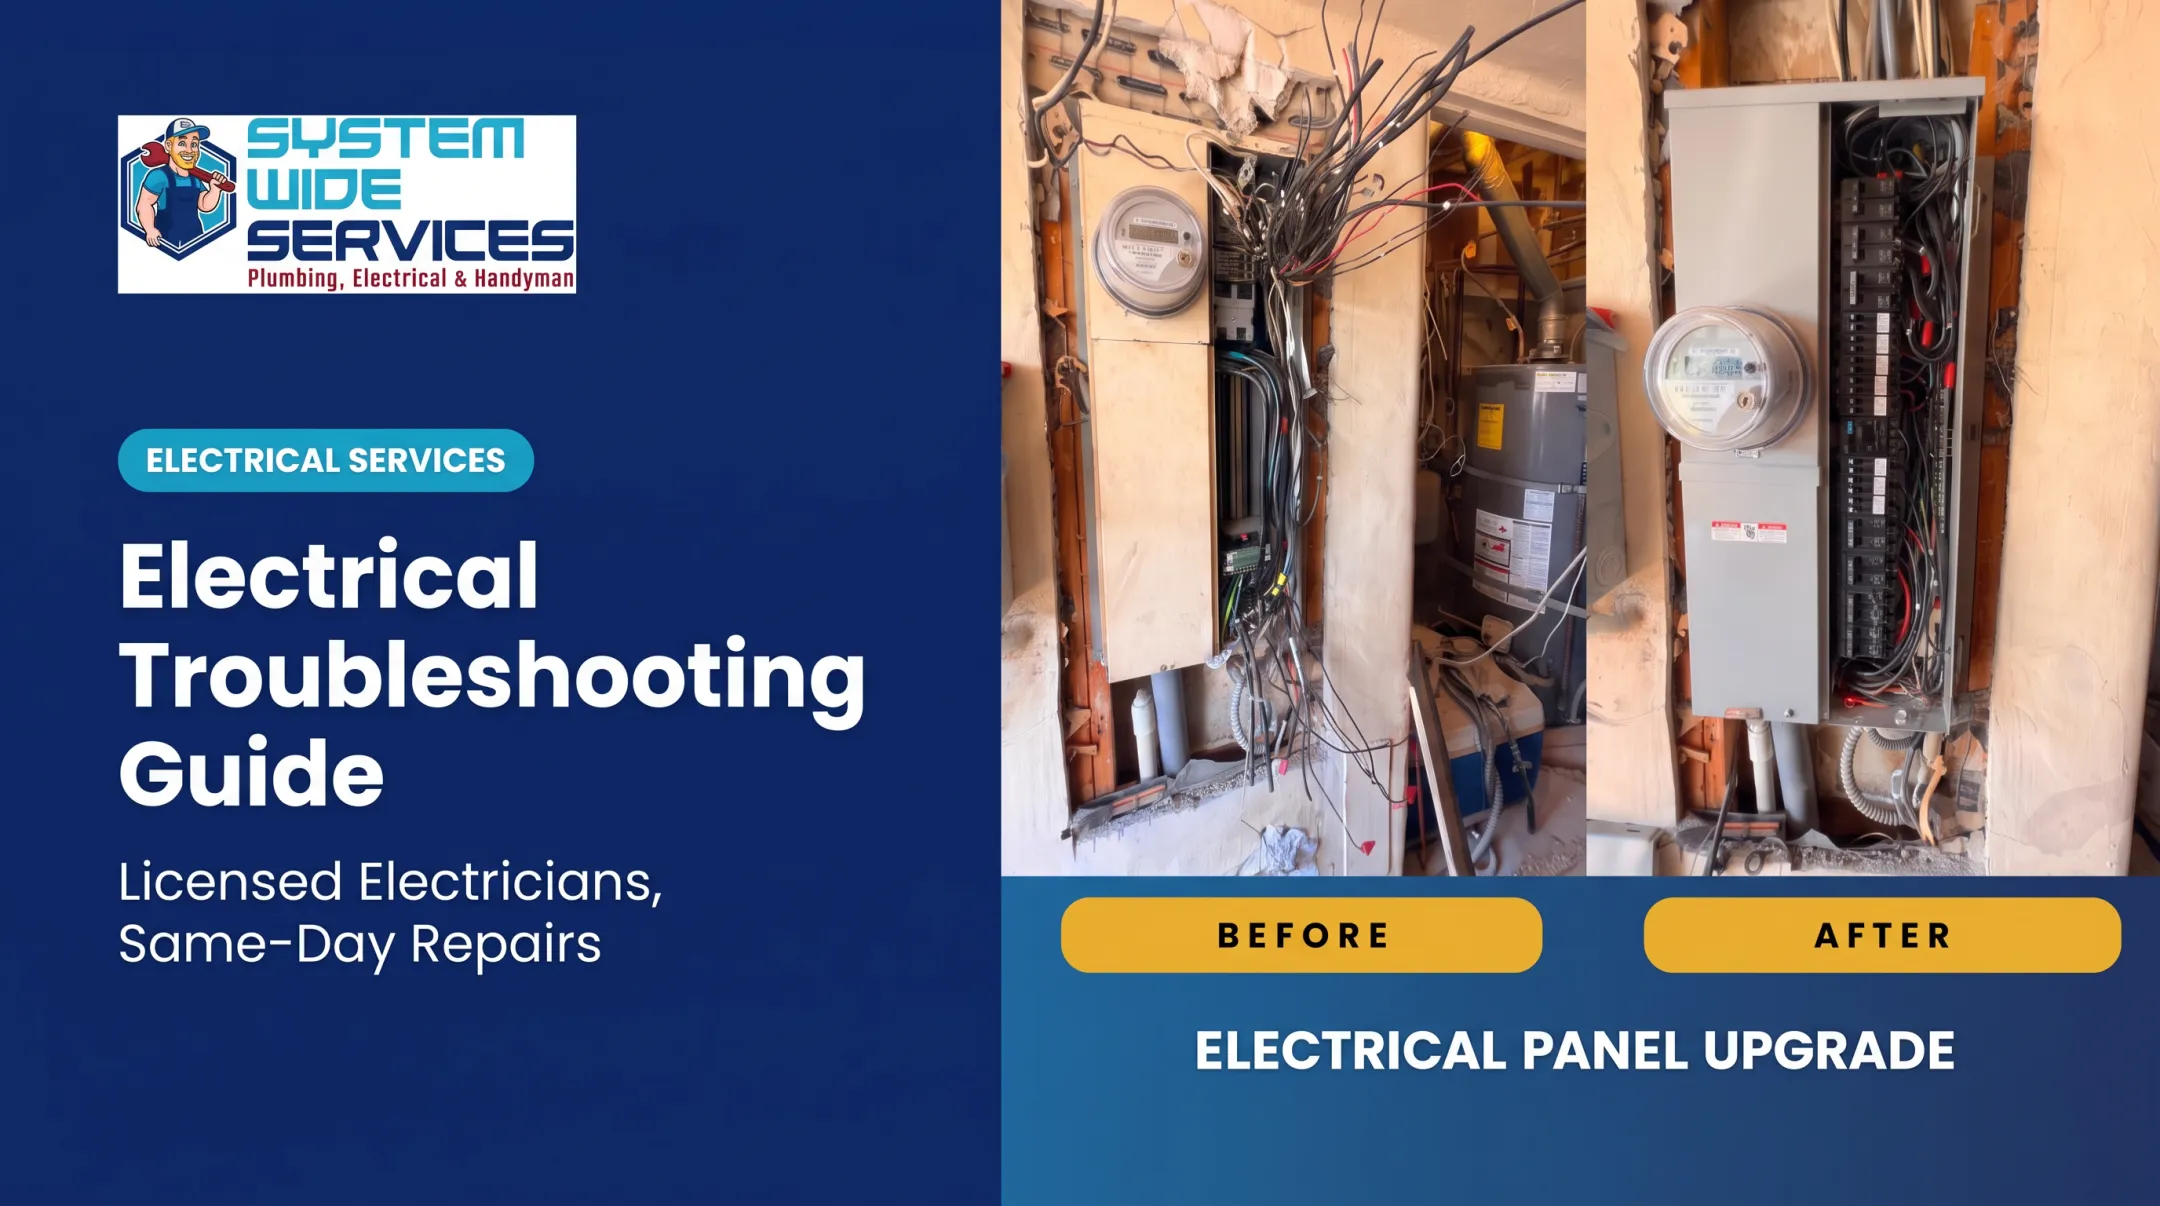
- Complete electrical work. Provide grounded power and protection, connect controls or pumps, and shield wiring from heat and moisture. Use an electrician for panel or circuit changes.
- Commission. Purge air, open valves, and restore utilities in the manufacturer's sequence. Set a safe temperature, follow ignition instructions, and test hot water at representative fixtures.

Post-Installation Checks and Validation
Run this walkthrough before the installer leaves.
Visual and Structural
- Secure mounting and supported piping
- Accessible shutoffs and adequate service space
- Sealed penetrations and correct vent routing
- Safe condensate discharge
- Protection from water damage
Testing and Performance
Have a licensed pro test the water, gas, vent, combustion air, and condensate connections. A visual check cannot replace gas or combustion testing. Rinnai's manual, for example, requires gas leak and pressure testing before operation.

Then run representative fixtures and confirm:
- Stable temperature and reliable flow activation
- Normal ignition with no leaks or odd sounds
- Working controls and no active fault codes
Paperwork to Collect
- Model and serial numbers
- Installation manual and warranty details
- Permit and inspection records
- Startup readings, if provided
- Installer contact and shutoff locations
- Maintenance instructions
Skipping validation can hide an undersized gas supply, venting defects, crossed plumbing, or condensate problems that only show up after repeated use.
Common Installation Problems and Fixes
Inadequate or Unstable Gas Supply
- Symptoms: Failure to ignite, shutdowns under demand, inconsistent temperature, or trouble when other gas appliances run.
- Cause: The old tank line, meter, regulator, or total capacity can't feed the new unit's input.
- Fix: A qualified professional calculates demand, verifies pressure and sizing, completes any approved upgrade, and retests. Don't guess at pipe size or adjust regulators without authorization.
Venting, Combustion Air, or Condensate Errors
- Symptoms: Short-cycling, shutdowns, abnormal condensation, damaged nearby materials, or carbon monoxide risk.
- Cause: Reused tank venting, wrong material, excess length, blocked intake, poor termination clearance, or missing condensate management.
- Fix: Stop operation. A qualified installer compares the setup with the manual and code, replaces or reroutes parts, and performs the required checks.
The CPSC notes that detached, improperly installed, or blocked vents can contribute to CO hazards.
Flow, Temperature, or Connection Problems
- Symptoms: No activation at low flow (one Rinnai series lists 0.4 GPM minimum), fluctuating temperature, leaks, or hot water on the wrong line.
- Cause: Closed valves, clogged inlet filter, trapped air, low pressure, undersizing, crossed connections, scale, or bad recirculation piping.
- Fix: Check the manual's flow and valve requirements, purge, clean the approved filter, correct piping or pressure, and schedule descaling.

Navien recommends descaling at least annually, depending on mineral content and use.
Pro Tips for Installing a Gas Tankless Water Heater Effectively
- Survey before demolition. Have the installer document location, sizing assumptions, gas and electrical capacity, vent route, condensate path, permits, removal, startup, and warranty.
- Choose the location for the whole system. Compare indoor and outdoor placement, hot-water pipe length, service access, clearances, freeze exposure, and drainage.
- Plan for hard water. Much of Los Angeles and Orange County has hard water (USGS calls anything above 180 mg/L very hard). Keep isolation valves accessible and follow descaling guidance.
- Hire specialists for the critical work. Gas sizing, venting, pressure testing, electrical changes, and commissioning belong to licensed pros.

In Southern California, System Wide Services holds California CSLB license #1108115 covering C36 plumbing and C10 electrical work. The team handles tank-to-tankless conversions with upfront flat-rate pricing that includes required gas, venting, and electrical work, and pressure-tests and leak-tests every gas connection.
Conclusion
A gas tankless water heater delivers on-demand hot water, and the DOE reports that units can last more than 20 years. Installation quality decides whether you get that life along with safety, stable temperatures, and warranty protection.
Before you wrap up:
- Gather your model details and site information
- Compare itemized quotes
- Follow the manual and local code
- Do not accept the work until testing and documentation are complete
Frequently Asked Questions
What is the average labor cost to install a gas tankless water heater?
Labor varies widely with location, gas line, venting, plumbing complexity, and permits. No reliable labor-only figure applies everywhere, so ask for labor itemized separately from equipment and upgrades.
How much does a wall-mounted gas tankless water heater cost?
Totals include the heater, vent parts, gas, water, and electrical connections, labor, permits, and disposal. ConsumerAffairs reports most homeowners pay $2,400-$5,400, with full conversions reaching $6,000-$10,500.
How long does it take to install a gas tankless water heater?
A straightforward replacement takes less time than a job needing a new gas line, vent route, electrical work, or inspections. Your installer should give a schedule after the site survey.
Can a regular tank water heater be replaced with a gas tankless water heater?
Often, yes. First evaluate the gas line, venting, combustion air, power, plumbing, location, and hot-water demand before choosing a model.
Where should a gas tankless water heater be located?
Pick a spot that meets the model's clearances, service access, vent termination, drainage, and freeze rules while keeping utility runs practical. Use only units rated for that indoor or outdoor location.
Can a gas tankless water heater be vented through a wall?
Many approved systems can terminate through a sidewall, using the model's approved materials, clearances, sealing, and local code. Never reuse a conventional tank vent or improvised pipe.