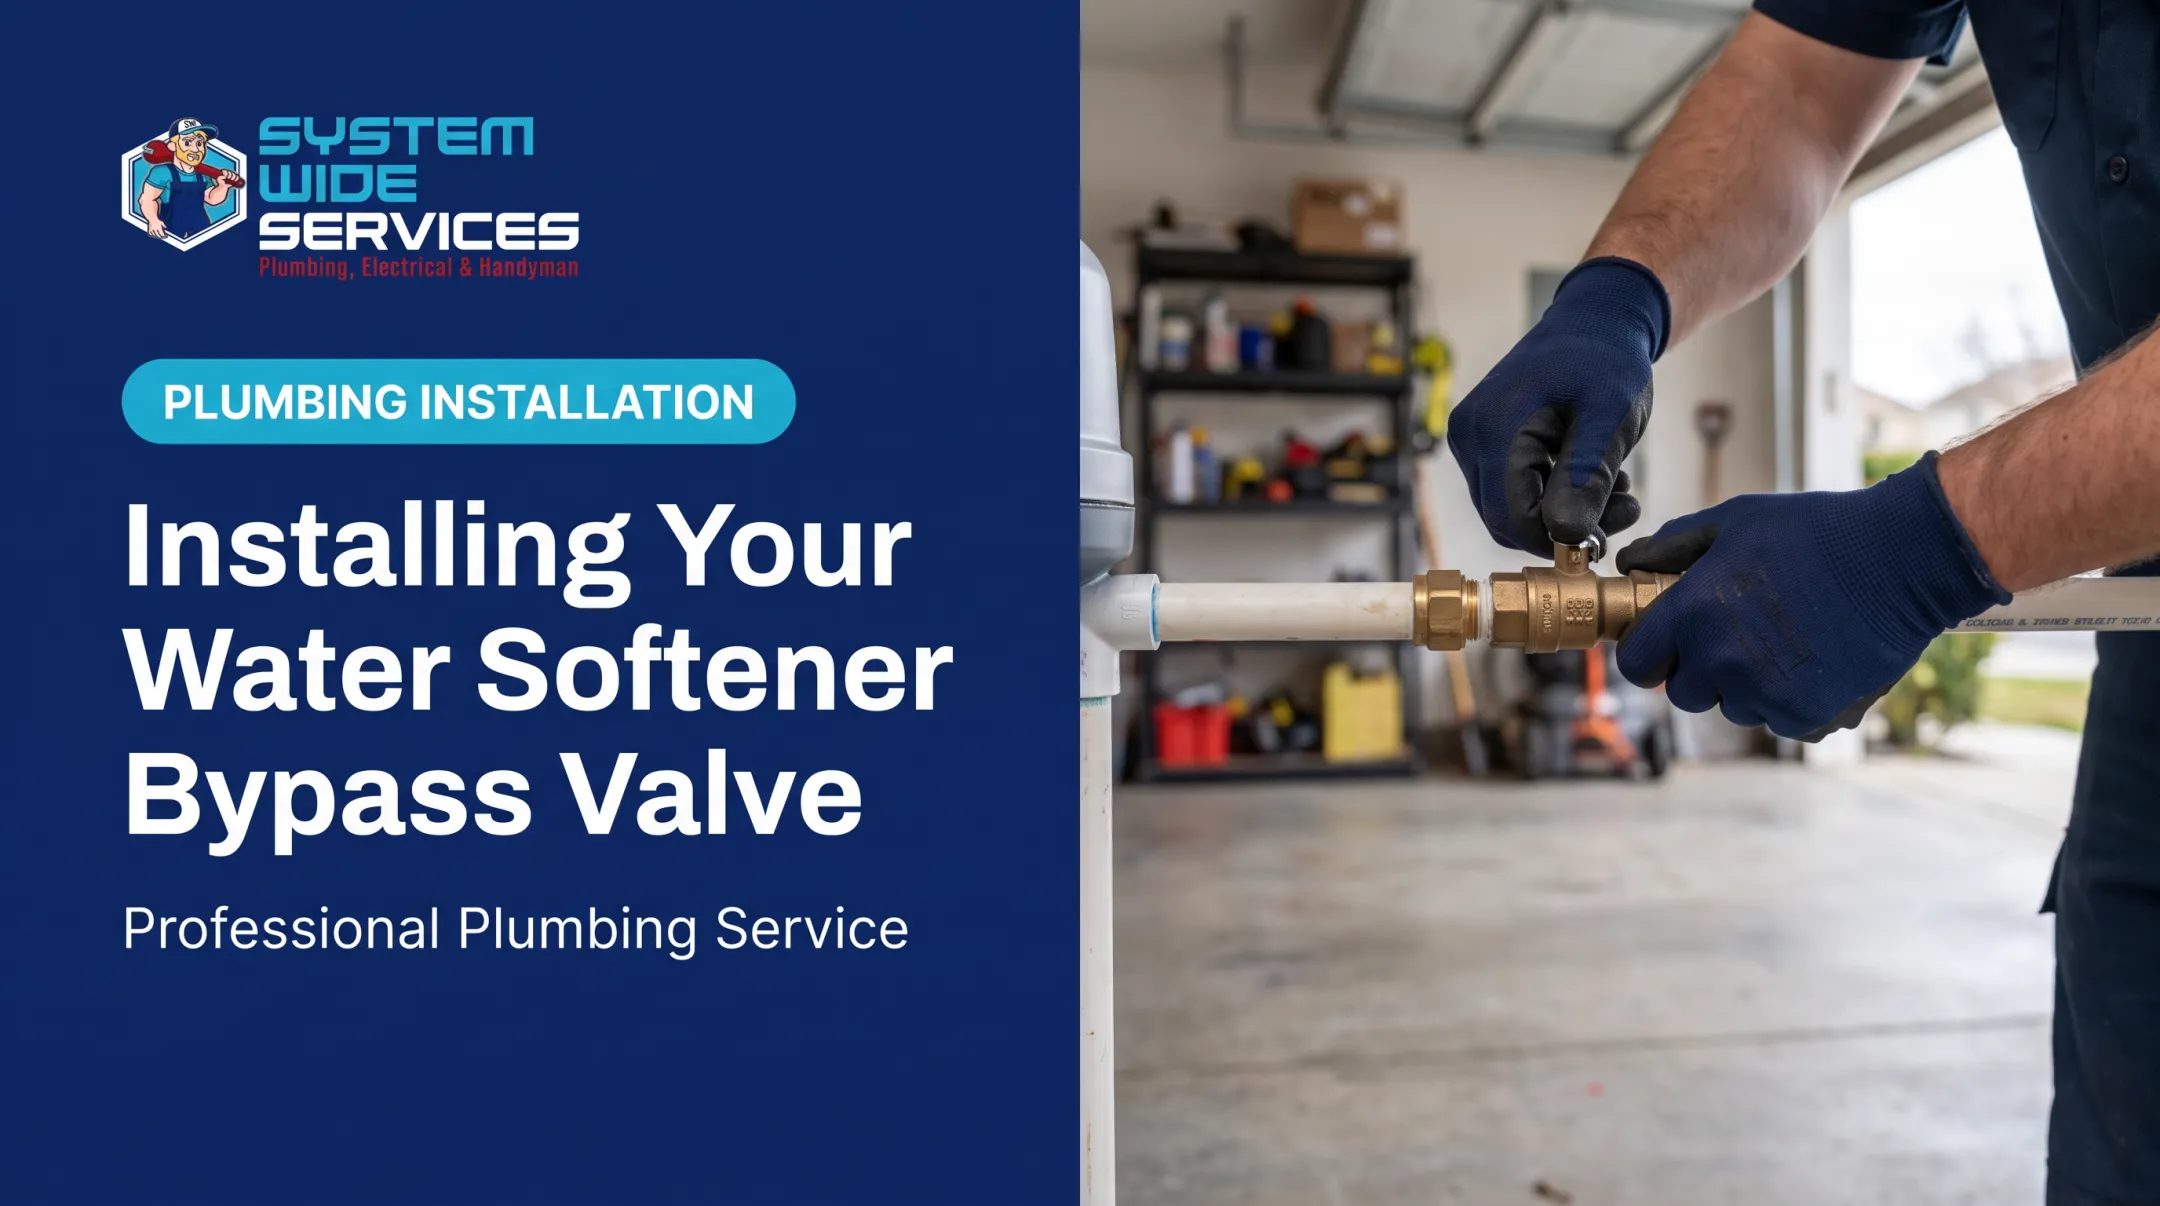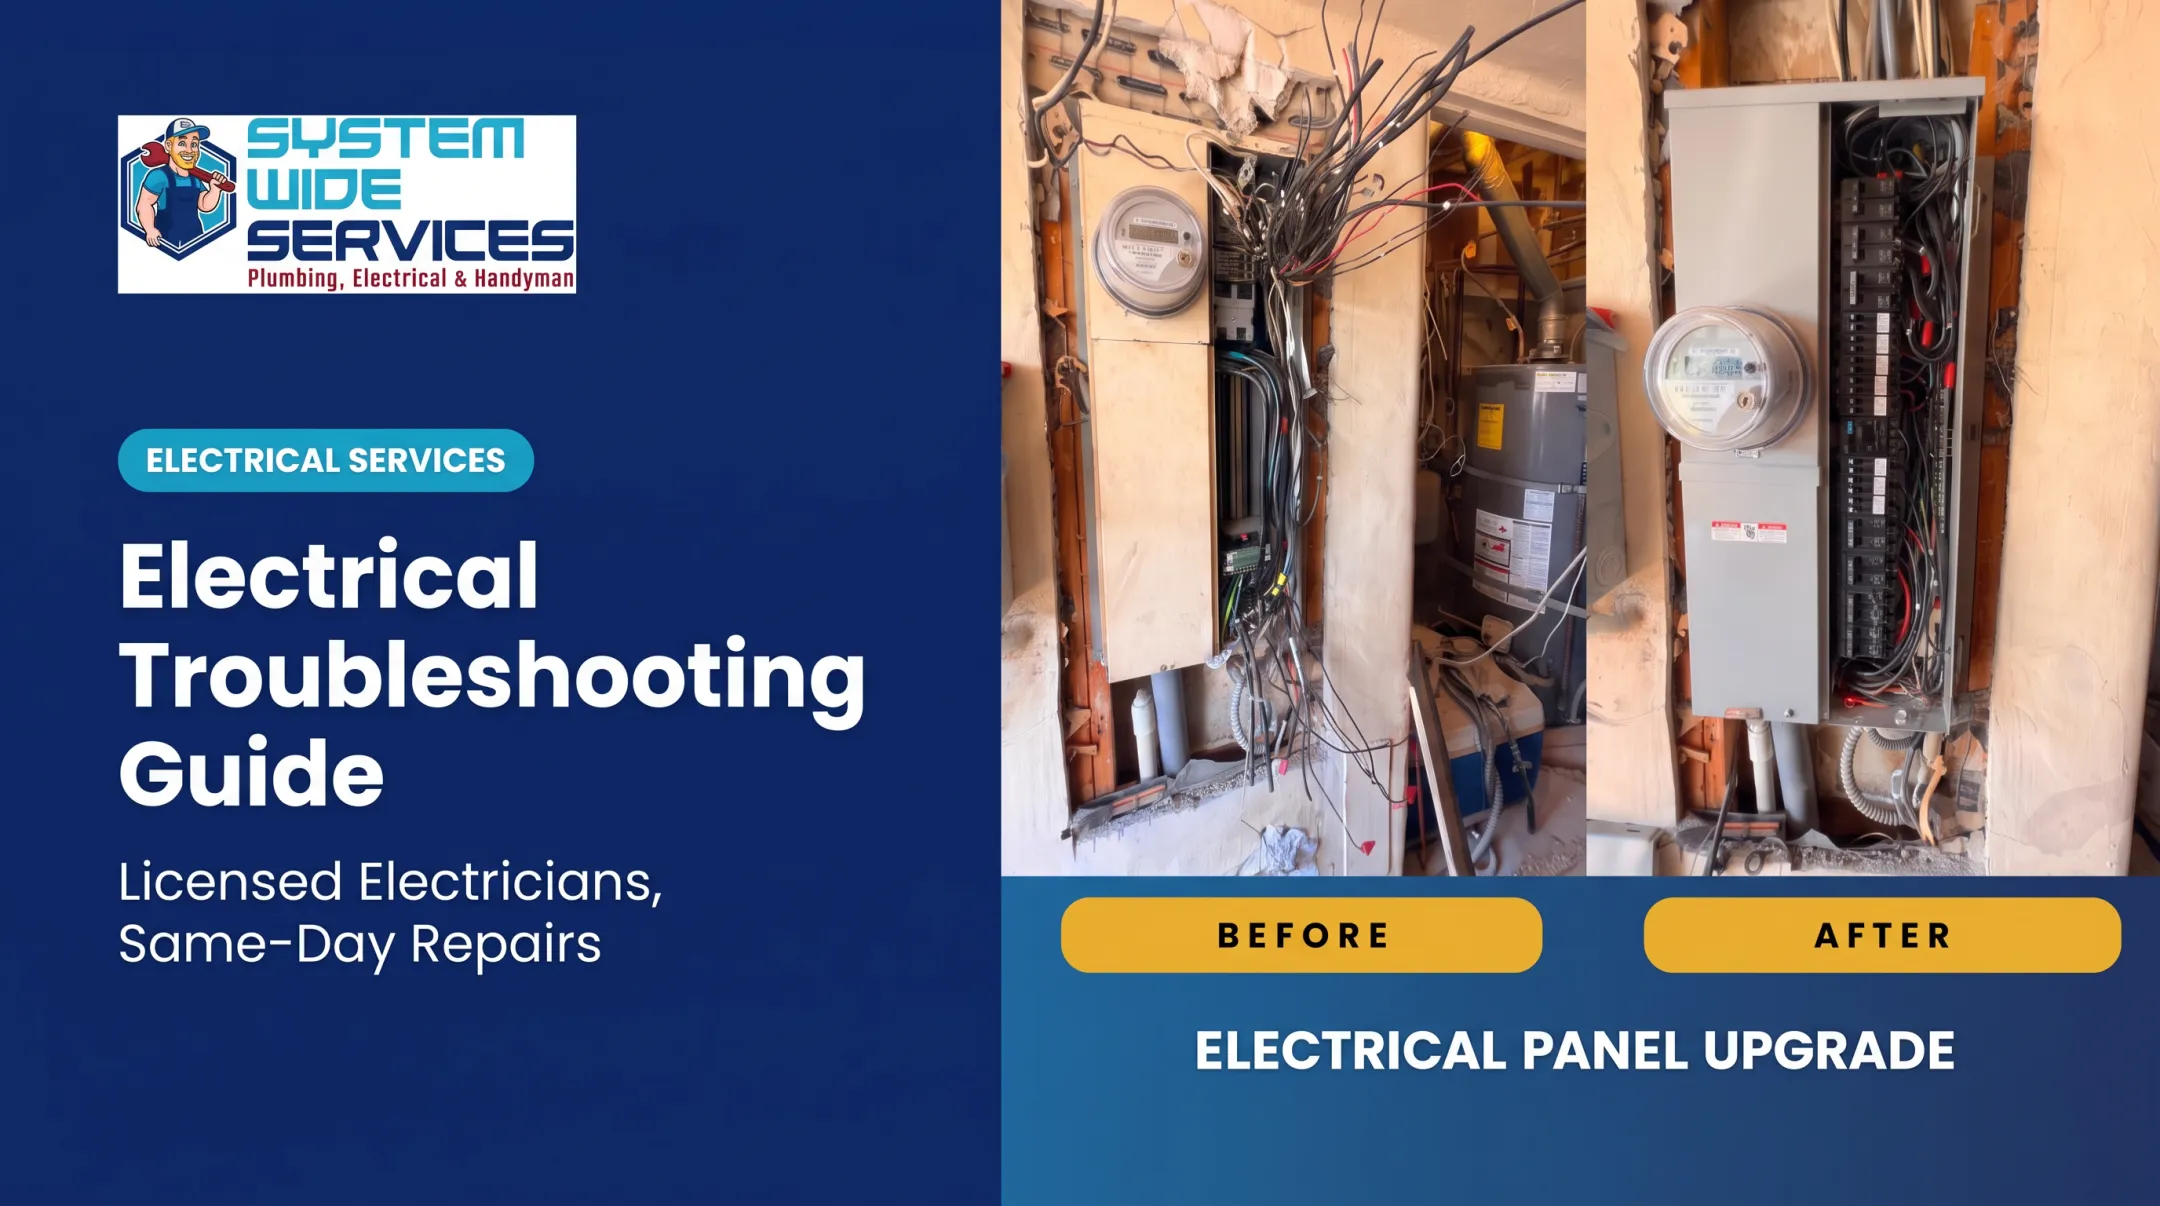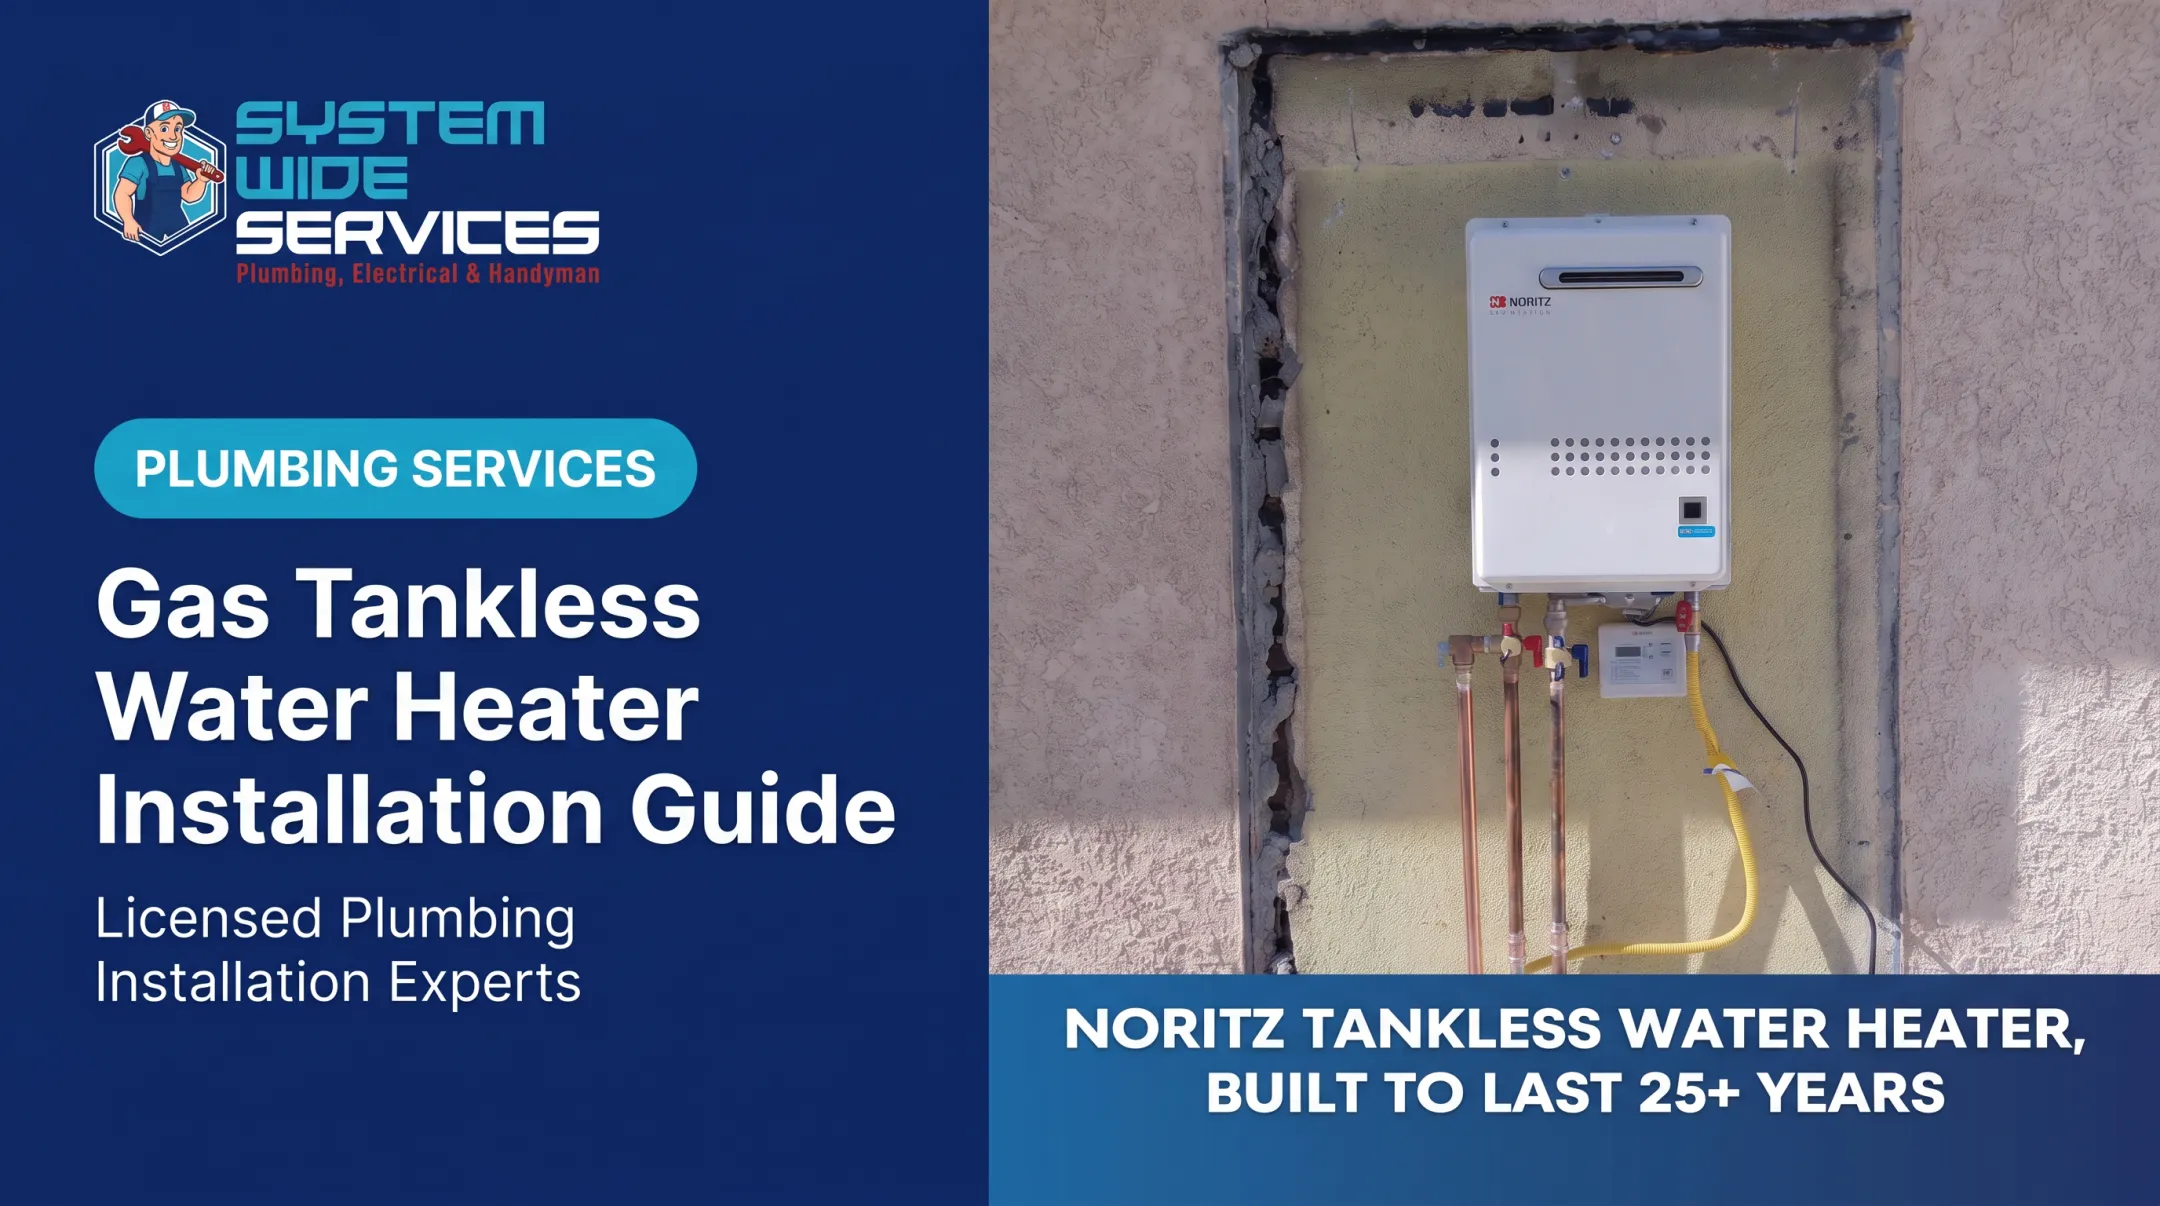

A qualified plumber, electrician, or coordinated licensed team should handle the work when the unit needs hardwiring, a new circuit, plumbing changes, or a permit. A plug-in setup is only appropriate when the manufacturer and local code both allow it.
Get it wrong and you risk leaks, weak heating, nuisance breaker trips, shock or fire hazards, water-damaged cabinets, and a voided warranty. The EcoSmart 2024 manual itself warns that improper installation can cause property damage or injury and affect coverage. This guide walks through preparation, installation, and validation.
Key Takeaways
- An under-sink tankless heater serves one fixture, not the whole home.
- Check space, flow, temperature rise, voltage, and circuit capacity before you buy.
- Never assume an existing outlet or circuit can carry the load.
- Test for leaks, flow, stable temperature, and electrical safety before closing the cabinet.
Installation Guide for an Under-Sink Tankless Water Heater
Think of the job as one sequence: preparation, safe shutdown, placement, plumbing, electrical, configuration, and testing. Skipping or reordering steps is where most problems start.
Scope and duration vary. A ready cabinet with a compatible circuit is a short job. Rerouted plumbing, permits, or a panel upgrade stretch it considerably. This is not a one-size-fits-all DIY project.
Prerequisites and Safety Considerations
Verify site readiness
- Measure the cabinet against the manufacturer's dimensions, clearances, orientation, and service space.
- Confirm the mounting surface can carry the unit and the cabinet stays dry and accessible.
- Check that drains, shutoff valves, disposals, filters, and stored items won't block installation or later service.
- Decide whether the unit boosts an existing hot line or serves as a dedicated point-of-use heater, and follow that model's diagram.
Check compatibility
Sizing starts with flow rate and temperature rise, which is the desired outlet temperature minus incoming water temperature. A small unit that handles a bathroom handwashing sink may fall short at a kitchen sink.
EPA WaterSense-labeled bathroom faucets are limited to 1.5 GPM, while Stiebel Eltron's kitchen sizing example uses 1.0 to 2.2 GPM.
Electrical needs differ sharply by model:
- EcoSmart POU 3.5: 120 V, 3.5 kW, 29 A maximum draw, 30 A breaker
- Stiebel DHC-E examples: 208 V / 7.2 kW / 30 A, and 240 V / 9.6 kW / 40 A

Also confirm pipe size, fittings, shutoff valves, pressure limits, and any relief or discharge provisions the manual specifies.
Rules on permits, GFCI protection, and electrical connections depend on your jurisdiction and the locally adopted code edition, so check them rather than assuming a national rule. In California, the 2025 code cycle applies to permit applications on or after January 1, 2026.
Know when to stop
- The cabinet lacks clearance, the surface is unsafe, plumbing is damaged, or the unit is undersized.
- Never energize until the unit is full, air is purged, and connections are checked. Dry-firing can permanently damage the heating element and void the warranty.
- A new circuit, hardwiring, panel work, doubtful grounding, an active leak, or a code question means calling a licensed plumber or electrician.
Tools and Parts Required
The manual for your exact model sets the parts list. Don't borrow one from a different heater.
Typical plumbing and mounting items
- Flexible water-heater hoses or approved supply lines
- Inlet and outlet shutoff valves
- Mounting screws and anchors
- Thread sealant rated for potable water
- Filter or strainer if the model requires one
- Catch pan or leak protection
- Relief-valve discharge parts, where local code or the model calls for them
Supplied parts vary. Stiebel's DHC Classic ships with mounting screws and plastic wall anchors, but its 3/4-inch Romex clamp is required and not supplied.
EcoSmart includes a 0.5 GPM aerator, though its product page mentions optional 0.35 GPM aerators, so confirm what's in your box.
Don't substitute fittings that aren't rated for the system's temperature, pressure, or drinking-water use.
Tools
- Tape measure, level, and stud finder
- Wrenches, drill, and screwdrivers
- Bucket, towels, and a flashlight for leak checks
- Electrical testers, which belong in a qualified installer's hands
Circuit installation, panel work, and permit paperwork usually mean bringing in an electrician.
How to Install an Under-Sink Tankless Water Heater (Step-by-Step)
Sequence matters. Connecting power before the water side is complete and tested can damage the heater, cause a leak, or create a shock hazard.
1. Prepare and isolate the area
- Clear the cabinet and protect finishes.
- Locate the home's water and electrical shutoffs.
- Photograph or label existing connections before disconnecting anything.
- Shut off water and power, open the faucet to relieve pressure, and let lines drain.
2. Position and secure the heater
Mount only in the orientation the manufacturer permits. Stiebel's DHC Classic, for example, mounts vertically with water connections down, cold inlet on the right and hot outlet on the left.
Keep clearances and access to controls and valves. Secure it firmly so vibration or stored items can't strain connections.
3. Connect the plumbing
- Follow the inlet and outlet diagram for your setup, dedicated or in-line.
- Install accessible shutoff valves and any required filter, check valve, or relief provisions.
- Keep connections aligned and supported, and don't over-tighten.
- Double-check flow direction. A reversed inlet and outlet causes poor performance or damage.
4. Complete the electrical connection
Match the circuit, breaker, conductors, grounding, and disconnect method to the nameplate and manual. A nearby outlet or disposal circuit is not a safe assumption, especially for higher-power units.
Stiebel's DHC-E Classic manual calls for a dedicated branch circuit. New wiring, hardwiring, panel changes, or permit-required work go to a licensed electrician.
5. Fill, purge, and configure
Restore water gradually, open the fixture, and run it until flow is continuous and air is out. Inspect every connection before applying power. Then set the temperature within the manufacturer's range and clean the aerator.

The CPSC recommends 120°F. At 140°F, third-degree burns can occur in about 6 seconds, so balance comfort against scald risk.
Post-Installation Checks and Validation
Visual and structural
- The heater is secure and clearances are intact.
- Plumbing is supported, covers are closed, and nothing is pinched or rubbing on the cabinet.
- No drips, dampness, or stress at fittings, and any discharge is routed as required.
Operation
Open the fixture and confirm the unit activates, water flows the right way, temperature stabilizes, and the heater shuts off when flow stops. Activation thresholds are model-specific. EcoSmart's product page lists 0.25 GPM while its manual says about 0.3 GPM.
Test more than one flow setting. Excess flow, very low flow, cold incoming water, or a clogged aerator will all change results. Stiebel's procedure includes running water about 20 seconds to check temperature.

Electrical and records
- The breaker holds during normal use.
- No burning smell, buzzing, overheating, or error codes.
- Record the model, serial number, temperature setting, circuit details, shutoff locations, warranty information, and permit paperwork.
Skip validation and a slow leak or undersized circuit can turn into a failure months later.
Common Installation Problems and Fixes
Low, lukewarm, or inconsistent temperature
Likely causes include:
- Undersized heater or excess flow demand
- Colder incoming water or wrong temperature settings
- Clogged filter, aerator, or dirty inlet screen
- Reversed connections or inadequate power
Stiebel's checklist also flags inadequate flow and a partly closed shutoff. Check the manual, flow rate, error codes, and connections before changing settings or replacing parts.
Leaks under the sink
Common causes include:
- Loose or misaligned fittings
- Wrong washers or sealants
- Stressed supply lines or over-tightened threads
- Discharge or drain-side problems
Shut off the water, dry the area, and find the source. Under-sink leaks can damage cabinets and lead to mold, so fix persistent ones instead of hiding them behind stored items.
Breaker trips, no power, or no activation
Possible causes include:
- Unsuitable circuit, wrong wiring, or grounding/GFCI issues
- Loose connection or open service switch
- Low flow that fails to trigger the unit
- Heater fault, tripped breaker, or thermal cutoff

Do not keep resetting the breaker. Have a licensed electrician or qualified technician troubleshoot power and activation problems.
Pro Tips for Installing an Under-Sink Tankless Water Heater Effectively
- Evaluate first, buy second. Have a plumber and electrician confirm cabinet dimensions, fixture usage, panel capacity, flow needs, water quality, and permits. Don't pick a unit just because it's the smallest.
- Tackle the disruptive work first. Resolve cabinet limits, complete permitted electrical work, prepare plumbing, flush and inspect the water side, then energize.
- Call a specialist when trades overlap. New circuits, hardwiring, panel work, unclear plumbing, water damage, and permits all justify it.
System Wide Services handles plumbing and electrical in-house, quotes flat-rate prices upfront, and holds California CSLB license #1108115 for C10 electrical and C36 plumbing. For homes in Los Angeles and Orange counties, that means one team can coordinate the whole job.
Conclusion
Installation quality shapes temperature control, electrical safety, leak resistance, service life, and warranty coverage. A well-installed unit delivers reliable hot water at the fixture you bought it for.
Verify model requirements, prepare the site, follow the manufacturer's sequence, and document a final test. An under-sink tankless heater is not a simple plug-in appliance, whatever the box suggests.
Frequently Asked Questions
What is the average cost to install a tankless water heater?
It depends on whether you mean an under-sink unit or a whole-home system. HomeAdvisor's 2025 data lists point-of-use heaters at $100 to $250 and whole-home equipment at $450 to $1,500, before labor. Plumbing changes, electrical work, permits, and panel upgrades add to the total.
Can I install an under-sink tankless water heater myself?
Only a manufacturer-approved plug-in setup with suitable existing connections is realistic for a homeowner. Plumbing changes, hardwiring, new circuits, and permits should go to qualified professionals.
Do under-sink tankless water heaters need a dedicated circuit?
It depends on the model's voltage and load. Follow the nameplate and manual, and have an electrician verify capacity. Stiebel's DHC-E Classic calls for a dedicated branch circuit.
How do you install an under-sink tankless water heater?
Verify sizing and space, shut off water and power, secure the unit, and connect plumbing in the correct direction. Complete the approved electrical connection, fill and purge, then test for leaks, flow, temperature, and safe operation.
Is an under-sink tankless water heater worth it?
It can be for a remote sink with long hot-water waits or limited space. Value depends on electrical capacity, usage, incoming water temperature, maintenance, and installation cost.
Does an under-sink tankless water heater provide instant hot water?
It shortens the wait because heating happens near the fixture, but it isn't necessarily instant. Activation flow, pipe length, temperature rise, unit capacity, and incoming water temperature all affect the result.