
Water Heater Leak: What to Do in the First Hour
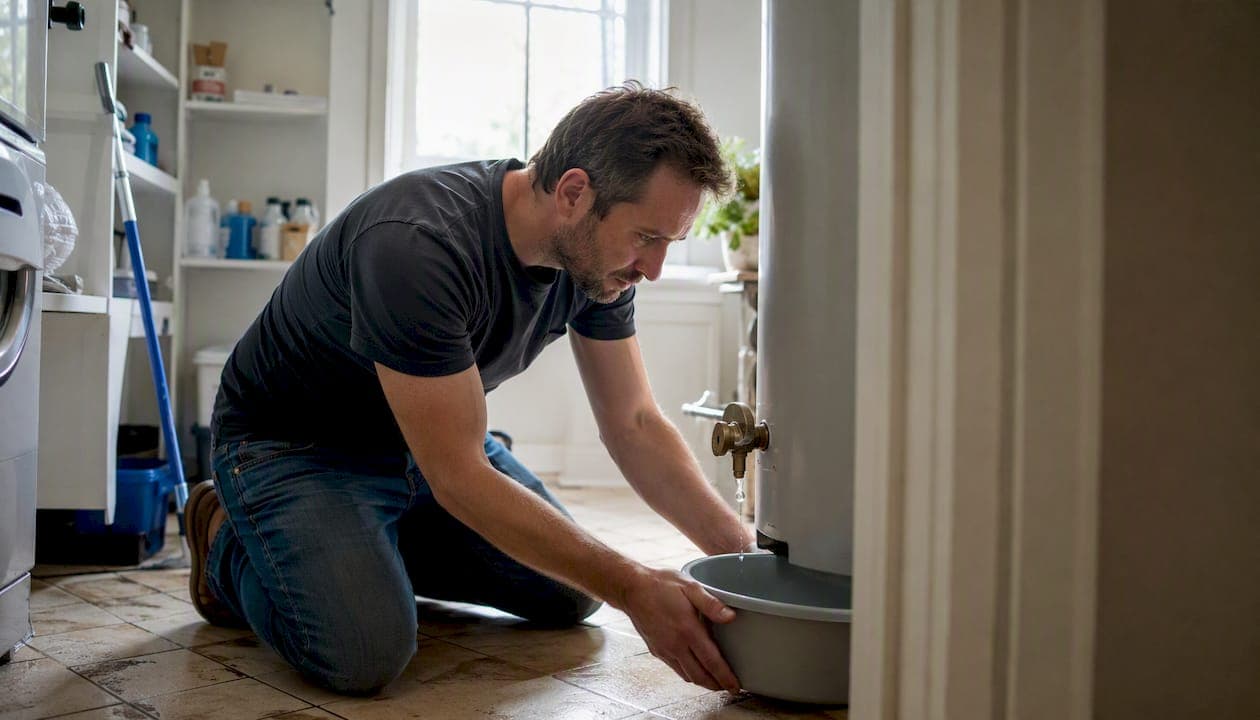
If you find a water heater leak, do these three things immediately: cut power to the unit (flip the breaker for electric, turn the gas valve to “off” or “pilot” for gas), shut off the cold-water supply valve above or near the heater, then contain any standing water with towels, a bucket, or a drain pan. Those steps stop the two biggest risks right away: electrical shock and water damage spreading to your subfloor or walls.
Do this right now:
-
Kill power first. Electric unit: flip the dedicated breaker. Gas unit: turn the gas valve to “off” or “pilot.” If you smell gas, skip the valve, leave the house, and call your gas utility from outside.
-
Shut the cold-water supply. The valve is usually directly above the heater on the cold inlet pipe. Turn it clockwise until it stops.
-
Contain the water. Place a bucket or pan under the drip. If the tank is actively flooding, attach a garden hose to the drain valve at the base and route it to a floor drain or outside.
-
Document everything. Photograph the leak from multiple angles, capture the unit’s serial number and model tag, and note the approximate age of the heater. Your insurer and any plumber you call will need this.
-
Stay away from standing water near electrical components. Leaks that drip onto burners or electrical parts create combustion or shock hazards and require professional attention before you touch anything else.
Unaddressed leaks can quickly cause mold growth, rotted subfloor, and escalating repair costs, so speed matters even when the drip looks minor.
Key Takeaways
A water heater leak is almost always manageable if you cut power, shut the water supply, and contain the water within the first few minutes.
| Point | Details |
|---|---|
| First three steps | Cut power, shut the cold-water inlet valve, then contain water with a pan or bucket immediately. |
| Condensation vs. real leak | Power down, dry the area, and wait 4–6 hours; moisture that returns confirms a real leak. |
| Most leaks are repairable | Fittings, valves, and gaskets are fixable; only a tank seam or body leak requires full replacement. |
| Replace when age and cost align | If the unit is past 10 years and repair exceeds 50% of replacement cost, replacement is usually smarter. |
| System Wide Services | Offers same-day water heater repair and replacement across Los Angeles and Orange County with upfront pricing. |
Table of Contents
-
Is your water heater actually leaking, and how do you safely shut it down?
-
Short-term containment and temporary fixes you can safely do right now
-
How long does water heater repair or replacement take, and what does it cost?
-
What a professional water heater service visit actually looks like
-
System Wide Services handles water heater leaks across Los Angeles and Orange County
Is your water heater actually leaking, and how do you safely shut it down?
Before you assume the worst, rule out condensation. In humid weather or a cool garage, a water heater can “sweat” enough to leave a puddle that looks exactly like a leak. The test is simple: power down the heater, dry the area completely with a towel, and check back in several hours. If moisture returns while the unit is off, you have a real leak. If the area stays dry, condensation was the culprit.
Numbered steps for safe shutdown and initial diagnosis:
-
Confirm the source is not condensation. Dry the area, wait 4–6 hours with the heater off, and re-inspect.
-
Cut power. Electric: locate the dedicated 240V breaker in your panel and flip it off. Gas: rotate the gas valve on the supply line to “off” or “pilot.”
-
Shut the cold-water inlet. The ball valve or gate valve sits on the cold-water pipe entering the top of the tank. Turn it fully clockwise.
-
If the main shutoff is needed, find your home’s main water shutoff (usually near the meter or where the supply line enters the house) and close it.
-
Check for gas odor. If you detect any sulfur or rotten-egg smell, do not touch any switches or valves. Leave immediately and call your gas utility’s emergency line from outside.
-
Photograph the area before moving anything. Wide shots plus close-ups of the leak point, the unit tag, and any visible rust or corrosion.
Pro Tip: Attach a standard garden hose to the drain valve at the bottom of the tank and run it to a floor drain or out a door. This lets you drain the tank slowly and safely without flooding the utility room, and it buys you time before a technician arrives.
A. O. Smith’s condensation bulletin recommends this same power-down-and-dry test as the first diagnostic step before concluding a unit is leaking, which is worth keeping in mind before you call anyone.
How to find exactly where the water is coming from
Work top-down. Starting at the highest point and moving toward the base is the fastest way to isolate the source without missing anything.
Top of the unit:
-
Cold inlet and hot outlet connections. Look for wet threads, mineral deposits, or drip trails on the flex connectors or nipples. These are common leak points, especially on older units with galvanized fittings.
-
T&P (temperature and pressure) relief valve. Located on the side near the top, with a discharge pipe running down. A wet valve body or water in the discharge pipe means the valve is either weeping or actively releasing. This is not always a valve failure; it can signal overpressure or overtemperature in the tank.
Mid-section:
-
Element access ports (electric units only). The upper and lower element covers can develop slow seeps at the gasket. Look for white mineral crust or rust streaks radiating from the cover plate.
-
Anode rod port. If the anode rod has been removed or is badly depleted, the port can weep. Rust-colored water near this area is a red flag.
Bottom of the unit:
-
Drain valve. The plastic or brass spigot near the base is one of the most common leak points. A drip from the valve body or handle usually means the valve seat has failed.
-
Tank seam and base. Water pooling directly under the tank with no visible fitting leak above it often points to internal corrosion. Visible corrosion, exterior rust, and water leaking from seams or the base usually indicate tank deterioration and mean the unit should be replaced.
Pro Tip: Dry the entire exterior of the tank with a clean towel, then run a strip of paper towel along each connection point from top to bottom. The first spot the paper towel gets wet tells you exactly where to focus.
Tankless units leak differently. Check the inlet and outlet connections, the pressure relief valve, and the condensate drain line (on condensing models). Heat exchanger leaks on tankless units are less common but more serious and almost always require a licensed technician.
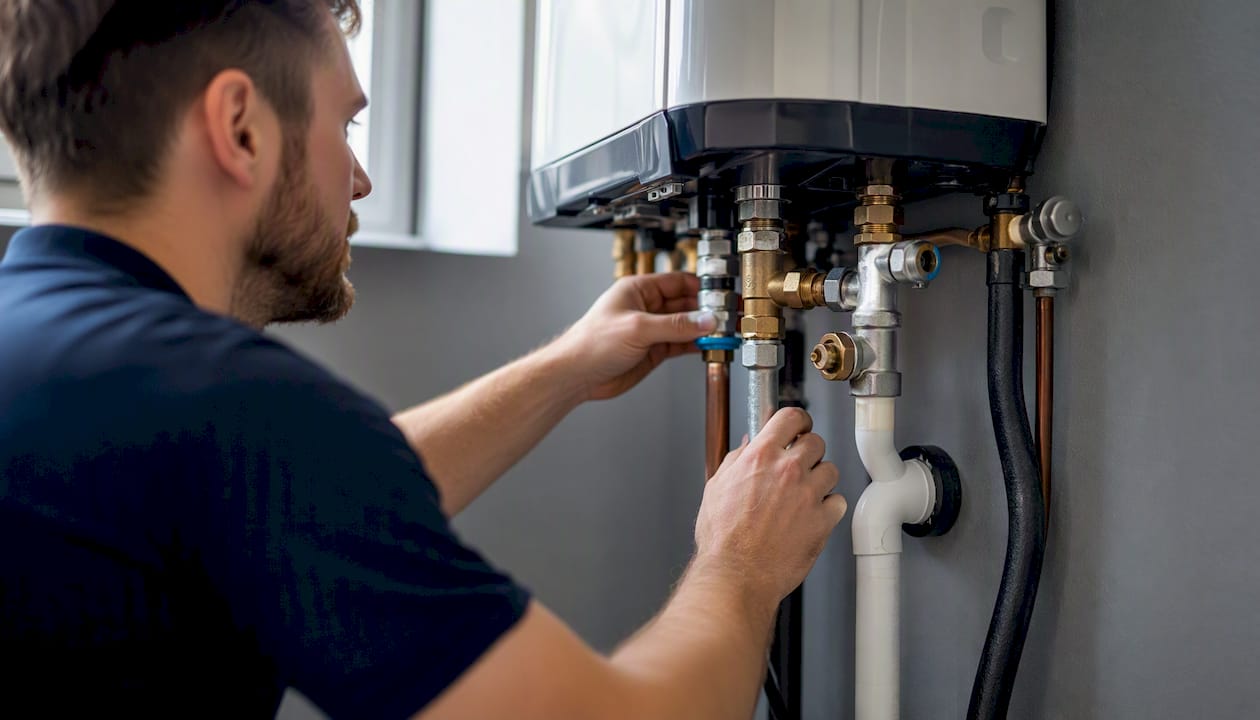
Most water heater leaks trace back to fittings, valves, or the relief valve, not the tank body itself, so a careful top-down inspection often reveals a fixable problem.
Short-term containment and temporary fixes you can safely do right now
Containment first, repair second. Your goal in the next hour is to stop water from spreading, not necessarily to fix the underlying problem.
Containment options:
-
Place a drain pan under the unit if one is not already there. Route the pan’s drain line to a floor drain or use a wet/dry vacuum to empty it regularly.
-
Set buckets under active drips and check them every 30 minutes.
-
Lay old towels around the base to absorb water and protect the subfloor.
-
If the T&P discharge pipe is dripping, attach a short hose to direct water into a bucket rather than onto the floor or burner assembly.
Temporary repairs that are homeowner-appropriate:
-
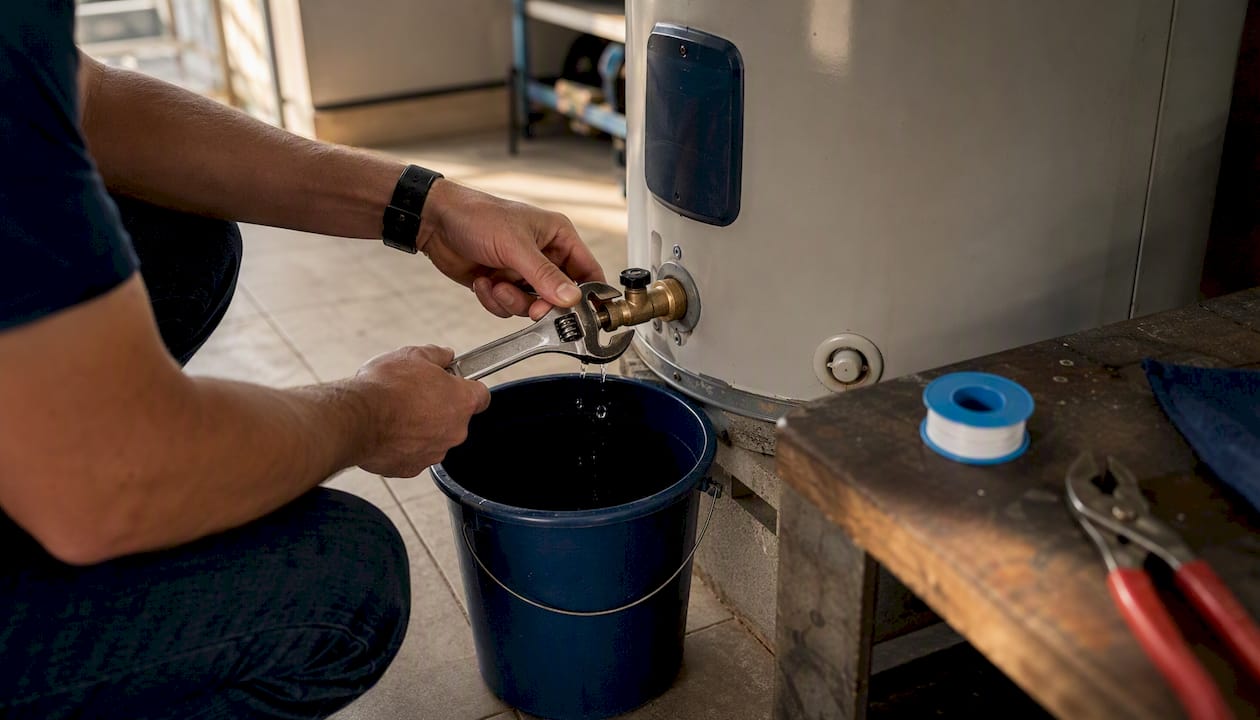
Loose inlet or outlet fitting. With the water supply off and pressure relieved, try snugging the fitting with a wrench. One quarter-turn is often enough. Do not overtighten on plastic fittings.
-
Leaking drain valve. A drain valve leak is a common, lower-severity issue usually fixed by replacing the valve. If the valve drips from the handle, try attaching a hose and opening it briefly to flush any sediment from the seat, then close it firmly. If it still weeps, replace it. Brass valves are more durable than the plastic valves that ship on many budget units.
-
Dripping flex connector. If a braided stainless flex connector is the source, shut the water supply, relieve pressure by opening a hot tap, and replace the connector. They are inexpensive and available at any hardware store.
Do not attempt these yourself:
-
Any work on the gas supply line or gas valve connections.
-
Opening the electrical panel or touching wiring with standing water present.
-
Soldering copper fittings while the tank still holds water or pressure.
-
Replacing the T&P valve if you suspect an overpressure event caused it to open. A leaking T&P valve can indicate overpressure, overtemperature, or a failed valve and should be diagnosed by a pro before the valve is swapped.
Pro Tip: Never assume a T&P valve that “just started dripping” is a faulty valve. It may be doing exactly what it is designed to do. Call a plumber to check system pressure and temperature before replacing it.
What commonly causes a water heater to leak?
Most leaks come from fittings, valves, or the relief valve; only a tank body leak is typically non-repairable. Here is how the most common causes map to your next step:
-
T&P relief valve discharge. Cause: overpressure, overtemperature, thermal expansion, sediment buildup, or a failed valve seat. Next step: do not cap or bypass the valve. Call a plumber to test system pressure and temperature before replacing it.
-
Drain valve seep. Cause: worn valve seat, sediment in the seat, or a cracked plastic valve body. Next step: flush the valve, then replace it if the drip continues. A brass replacement valve costs under $15 at most hardware stores.
-
Loose or corroded inlet/outlet fittings. Cause: thermal cycling loosens threaded connections over time; galvanic corrosion attacks dissimilar metals. Next step: tighten or replace the fitting. Usually repairable without replacing the tank.
-
Failing element gasket (electric units). Cause: the rubber gasket around the heating element degrades with age and heat cycling. Next step: replace the element and gasket. A licensed plumber or electrician can do this in under an hour on most units.
-
Depleted anode rod leading to tank corrosion. Cause: the sacrificial anode rod protects the tank lining. Once it is consumed, the steel tank corrodes from the inside. Next step: if caught early, a new anode rod may slow further damage. If rust-colored water is already present, plan for replacement.
-
Tank seam or body failure. Cause: internal corrosion has breached the tank wall. Next step: replacement. There is no patch for a corroded tank body.
Should you repair the leak or replace the water heater?
The answer usually comes down to where the leak is and how old the unit is.
Use this checklist:
-
Unit age. Tank water heaters typically last 8–12 years. If yours is past that range and leaking, replacement is usually the more economical path.
-
Leak location. A fitting, valve, or gasket leak is almost always repairable. A leak from the tank seam, base, or body is not.
-
Rust-colored water. Brown or rusty water from your hot taps signals internal corrosion. Visible corrosion or exterior rust and water leaking from seams or the base generally means the unit should be replaced.
-
Recurring failures. If you have replaced the T&P valve, drain valve, and elements in the past two years and the unit is still leaking, the tank is telling you something.
-
The 50% rule. Contractors commonly evaluate repair vs. replacement using unit age, failure type, and repair cost, and often apply a practical “50% of replacement cost” threshold. If the repair quote exceeds half the cost of a new unit, replacement is usually the smarter investment.
-
Sediment history. A tank that has never been flushed accumulates sediment that accelerates corrosion and reduces efficiency. Heavy sediment buildup combined with a new leak is a strong signal to replace.
When replacement is the right call, upgrading to a higher-efficiency unit or switching to a tankless model can reduce energy costs and eliminate the risk of a future tank failure.
When should you stop DIY and call a licensed professional?
Some situations require a pro immediately, no exceptions.
Call right now if you have any of these:
-
You smell gas anywhere near the unit.
-
Water is actively spraying or the tank is flooding the room.
-
You see electrical arcing, hear buzzing, or notice wet wiring or a tripped GFCI near the heater.
-
The T&P valve is discharging continuously, which can indicate a dangerous overpressure or overtemperature condition.
-
Water is dripping onto the burner assembly or electrical components. Leaks that reach burners or electrical parts create combustion or shock hazards that go beyond what a homeowner should handle.
-
Brown or rusty water is coming from your hot taps with no obvious fitting leak above the tank.
-
Water is pooling under the tank and you cannot find any fitting or valve leak above it.
Call soon (not an emergency, but do not wait more than a day or two):
-
The T&P valve has leaked more than once in the past month.
-
A fitting or drain valve still drips after you tightened it.
-
You cannot locate the leak source after a careful top-down inspection.
-
The unit is more than 10 years old and showing any new leak.
Pro Tip: Before you call, have this information ready: photos of the leak and the unit tag, the serial number (which often encodes the manufacture date), whether power, gas, and water are already shut off, and a description of when you first noticed the leak and how fast it is progressing. A plumber who gets this information up front can arrive with the right parts.
For plumbing services in Long Beach and Orange County, System Wide Services offers same-day emergency response for active water heater leaks.
How long does water heater repair or replacement take, and what does it cost?
Timelines and costs vary by job type, region, and access conditions. The figures below are ballpark U.S. ranges for a standard residential installation in a typical utility closet or garage.
Factors that push cost higher: permit requirements for replacement (required in most California jurisdictions), difficult access (closets, attics, raised platforms), upgrading from a standard to a high-efficiency or tankless unit, and gas-to-electric or electric-to-gas conversions.
Timeline expectations: drain valve and T&P valve swaps are often same-day jobs. Full tank replacements can usually be scheduled within 24–48 hours for non-emergency situations, though same-day service is available from many local plumbers for active leaks. Always get a written estimate before work begins. Ballpark ranges like those above are starting points; your actual quote will reflect local labor rates and the specific parts your unit needs.
Routine maintenance that prevents most water heater leaks
Most leaks are preventable. A simple annual routine catches the problems that turn into emergencies.
Annual tasks:
-
Flush the tank. Sediment accumulates at the bottom and accelerates corrosion. Connect a hose to the drain valve, shut the cold supply, and drain until the water runs clear. Do this once a year.
-
Test the T&P valve. Lift the lever briefly and let it snap back. Water should flow and then stop cleanly. A valve that drips after the test or will not open at all needs replacement.
-
Inspect for visible corrosion and drips. Check all fittings, the valve body, and the base of the tank. Catching a slow drip early is far cheaper than dealing with a flooded utility room.
-
Replace the anode rod every 3–5 years. Annual tank flushing, testing the relief valve yearly, and replacing the sacrificial anode rod every 3–5 years depending on water quality are the core maintenance tasks that extend tank life.
Install simple protections:
-
A drain pan with a connected drain line under the unit catches slow leaks before they reach the subfloor.
-
A water leak alarm (a $15–$30 sensor placed in the pan) alerts you the moment moisture appears.
-
An expansion tank on the cold-water inlet protects against pressure spikes in closed plumbing systems, which are a leading cause of T&P valve weeping.
-
A pressure gauge on the cold inlet lets you verify household water pressure stays in the 40–80 psi range. Sustained pressure above 80 psi stresses every fitting and valve in the system.
Pro Tip: When a plumber visits for any reason, ask them to check the anode rod condition, estimate sediment level by the color and clarity of the flush water, and inspect the flue and draft hood on gas units. These checks add minutes to a service call and can add years to the heater’s life.
What a professional water heater service visit actually looks like
Knowing what to expect from a pro visit helps you evaluate whether the technician is doing the job right.
The diagnostic and service flow:
-
Safety confirmation. The technician verifies power, gas, and water are off before touching anything. If they are not, the tech shuts them off before proceeding.
-
Visual inspection. Full top-to-bottom exterior inspection: fittings, T&P valve and discharge pipe, element ports, drain valve, tank body, and base.
-
Leak-source isolation. The tech dries the exterior and uses paper towels or a moisture meter to pinpoint the exact source.
-
Component testing. T&P valve function, inlet/outlet pressure, element resistance (electric units), and gas valve operation (gas units) are checked as appropriate.
-
Pressure test if needed. For unclear leaks, the system may be pressure-tested to confirm whether the tank body is holding.
-
Written estimate. Before any repair or replacement begins, you receive a clear cost breakdown covering parts and labor.
What a reputable pro should provide:
-
Before-and-after photos of the leak and the repair.
-
Part warranties (most quality components carry a 1-year minimum; many carry longer).
-
A clear, itemized cost breakdown with no surprise charges.
-
Permit guidance if replacement is required. In California, water heater replacements typically require a permit and inspection.
Pro Tip: Ask to see the technician’s state plumbing license number before work begins. In California, you can verify a contractor’s license in seconds at the Contractors State License Board website. A licensed, insured plumber protects you if anything goes wrong during the repair.
System Wide Services documents every residential plumbing service call with photos and a clear parts-and-labor breakdown, so you always know exactly what was done and why.
What most homeowners get wrong about water heater leaks
The most expensive mistake is waiting. A slow drip from a drain valve or a weeping T&P valve feels manageable, but water finds every gap in a subfloor within days. By the time the damage is visible, you are often looking at mold remediation and structural repairs on top of the plumbing bill.
The second most common mistake is assuming condensation is harmless. It usually is, but a unit that sweats heavily in a climate-controlled space may be running at the wrong temperature or have a failing element. Condensation that appears on a unit that has been running for years without it deserves a closer look.
Homeowners also frequently tighten fittings while the tank is still under pressure. That is how you strip a fitting or crack a plastic valve body and turn a minor drip into a bigger problem. Always shut the cold supply and relieve pressure by opening a hot tap before touching any threaded connection.
Finally, do not ignore rust-colored water. It is the clearest signal that the tank lining has failed. Continuing to use a corroding tank accelerates the damage and risks a sudden, much larger failure.
Pro Tip: Document the leak with photos and a short video the moment you find it. That documentation protects you with your insurer, helps a plumber diagnose remotely before arriving, and gives you a clear record if the issue recurs.
System Wide Services handles water heater leaks across Los Angeles and Orange County
A water heater leak that needs a licensed plumber does not have to mean a long wait or an unclear bill. System Wide Services is a veteran and woman-owned plumbing company serving 24+ cities across Los Angeles and Orange County, including Long Beach, Cerritos, Torrance, Seal Beach, and surrounding communities. The company carries a 5.0 customer rating built on same-day emergency response, upfront pricing, and no upsell pressure.
When you call about a water heater leak, the team arrives ready to diagnose the source, provide a written estimate before touching anything, and complete the repair or replacement the same day in most cases. Services cover everything from drain valve and T&P valve swaps to full tank replacement and new tankless unit installation. Financing plans are available for larger replacements, and a membership program covers annual maintenance checks so small problems get caught before they become emergencies.
To book a same-day service call or get an upfront quote for water heater repair or replacement in Long Beach and Orange County, contact System Wide Services directly. You can also visit the plumbing services page to see the full range of services and coverage area.
Sources
-
Fixing a Water Heater Leak: A Complete Step-by-Step Guide for Every Type of Leak - Plumbing Resource
-
Water Heater Leaks: Diagnosis and Repair Guide | Water Leak Authority
FAQ
What should I do first if my water heater is leaking?
Cut power to the unit (breaker for electric, gas valve to “off” or “pilot” for gas), shut the cold-water inlet valve, and place a bucket or pan under the leak. If you smell gas, leave the house and call your gas utility from outside before doing anything else.
Why is my water heater leaking from the bottom?
A leak from the bottom usually points to the drain valve, a corroded tank base, or water draining down from a higher leak point. A drain valve drip is often repairable by replacing the valve; water pooling directly under the tank with no visible fitting leak above it typically signals internal tank corrosion and means replacement is needed.
Can I temporarily stop a water heater leak myself?
Yes, for minor fitting or drain valve leaks. Shut the water supply, relieve pressure by opening a hot tap, and tighten or replace the leaking component. Never attempt DIY repairs on gas lines, electrical wiring, or a T&P valve that may be responding to an overpressure event.
How do I know if my water heater needs repair or replacement?
If the leak is at a fitting, valve, or gasket and the unit is under 10 years old, repair is usually the right call.
How quickly can a plumber fix a water heater leak?
Simple repairs like a drain valve or T&P valve replacement typically take 30–60 minutes on site. Full tank replacement usually runs 2–4 hours. System Wide Services offers same-day service for active leaks across Los Angeles and Orange County.
Recommended
Need a hand with this? We've got you covered.
System Wide Services handles plumbing, electrical, and handyman work across Long Beach and LA & Orange County.